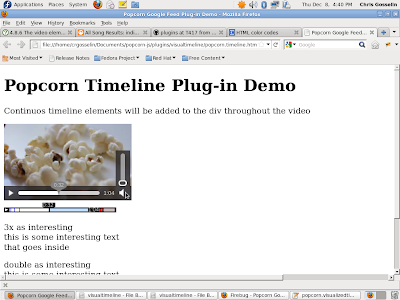
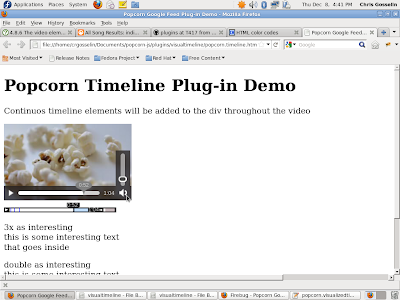
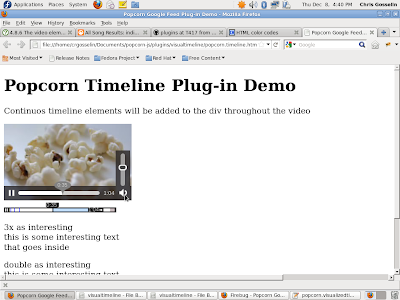
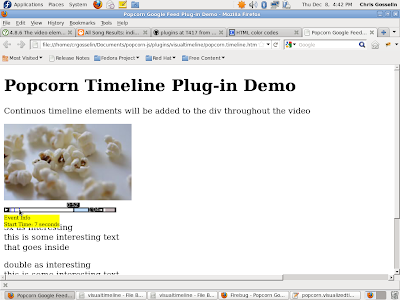
In order to finish up, I not only had to finish all the features I wanted to implement but also make the code readable and understandable enough so that when the next person comes along and wants to make an edit, they will be able to.
Since I built this on the canvas it's basically just a lot of math and scaling the elements according to the size of the canvas the user wants to give the visualized time bar.
For testing purposes, 20 height by 220 width seems to be the sweet spot. You can definitely make it bigger than that but any smaller and things start to get to small/run out of room etc.
Anyways, I took all my calculations and labelled them accordingly and cleaned up any redundant or obscure calculations (as best as I could).
So last time I wanted to implement current duration, sound, and request animation frame. Sadly to say after countless hours of hacking away at request animation frame I just gave up. That's the last little bit that the next person who decides to look at my code should probably check out. Hijacking the browser's js with a setInteval isn't probably the cleanest way of implementing the plugin.
But, I did add in the mute and change volume functionality based on the design on the already existing timeline on the demo video.
I played around with the color scheme to make it similar to the normal timeline of the demo video but that can always be switched around easily by just changing the hex codes; as I said before, the code is now readable so it's simple to find out where to place the color you want.
Taking into consideration all the requests on the bug post, the next step should incorporate visualizing chapters as well.
Aside from all this, the canvas may very well not be the best way to display all the info and functionality. Since I wanted to finish up what I started, I got Noah from my Open Source class to take on hacking away at the dom elements to see what he could get accomplished. Assuming he figures it out, we would just have to incorporate my logic into his new design; should be fairly simple.
I'm going to post some mockups, link to my code, and ask for a pull right after this blog post.
It was a pleasure trying to give something back to the online community and I hope I have more time in the future to do so.


Cheers,
Chris
No comments:
Post a Comment